
How To Hang Acoustic Foam Without Damaging Walls
Acoustic foams are regarded as a must-have for every studio as they help with absorbing unwanted soundwaves.
Every musician has to produce music in their home at least once. It is canon. How else are you supposed to write a heartfelt autobiography at the end of your career? Home studios are a significant acquisition for upcoming producers and musicians. Limited resources mean a lot of upcoming artists can’t afford sessions at properly equipped studios. Luckily, technology has made it possible to record good quality music from anywhere, provided you have the right equipment and setup.
With a computer, DAW software, microphones, speakers, audio interfaces, headsets, and the right acoustics, you’re all set to produce. Since your home wasn’t built to be a studio, managing the acoustics can be quite tricky. That’s where acoustic foam comes in.
What are acoustic foams like?

Acoustic foams are typically made from polyurethane. They are lightweight, open-cell foams used for acoustic treatment. They are specially designed to absorb sound and can help with noise control. One of the most important tools for acoustic treatment is acoustic foam because it traps sound waves and prevents them from bouncing around the place. They work by converting these sound waves to heat energy and then dissipating the heat.
Although acoustic foams are great for normalizing the sound in a room, they do not soundproof the room. To achieve full soundproofing, you will need to use other tools. They also do not keep noise from getting inside. The thickness of the acoustic foam typically determines the frequency of sound it can trap. Lighter foams are used to trap mid to high-frequency sounds, which are usually the biggest culprits when recording. The thicker the acoustic foam, the lower the frequency it can trap.
The polyurethane in acoustic foams produces a toxic substance when it catches fire, so you should be careful about where you place it. Always keep it away from electricity and fire sources.
Why you need acoustic foam?

One of the top challenges musicians have to deal with is the reflection of sound. Sound bouncing off walls can create a delayed feed into the recording microphone. When sound reflects, it typically presents itself in two ways, echo or reverberation. Both echo and reverberation can be useful when producing music, but they’re typically frowned on when recording. This is because mixing sound with some delay or reverb is quite difficult. The best way to record is to do it dry, i.e. without echo or reverb.
Reverb can also be troublesome when playing back music in the studio. The natural reverb in the studio can mess with your perception of the sound. This can make it hard to mix the sound using your monitors. To reduce the reverb and delay in your recording room, you will need to do some acoustic treatment. The goal of every acoustic treatment is to create a flat sound devoid of sound reflections - this can be achieved with acoustic foam.
Acoustic foams are just one part of acoustic treatment. Depending on what you want to achieve with sound, you may need more complex equipment. However, with acoustic foams, you can easily manage reverb in your recording space.
Issues with sound reflections are not limited to musicians, though. Podcasters have similar challenges when recording in ill-fitted rooms. Religious centers and other spacious arenas often have issues with trapping sound reflections and require acoustic foam to manage their sound.
What are the options for hanging acoustic foams?
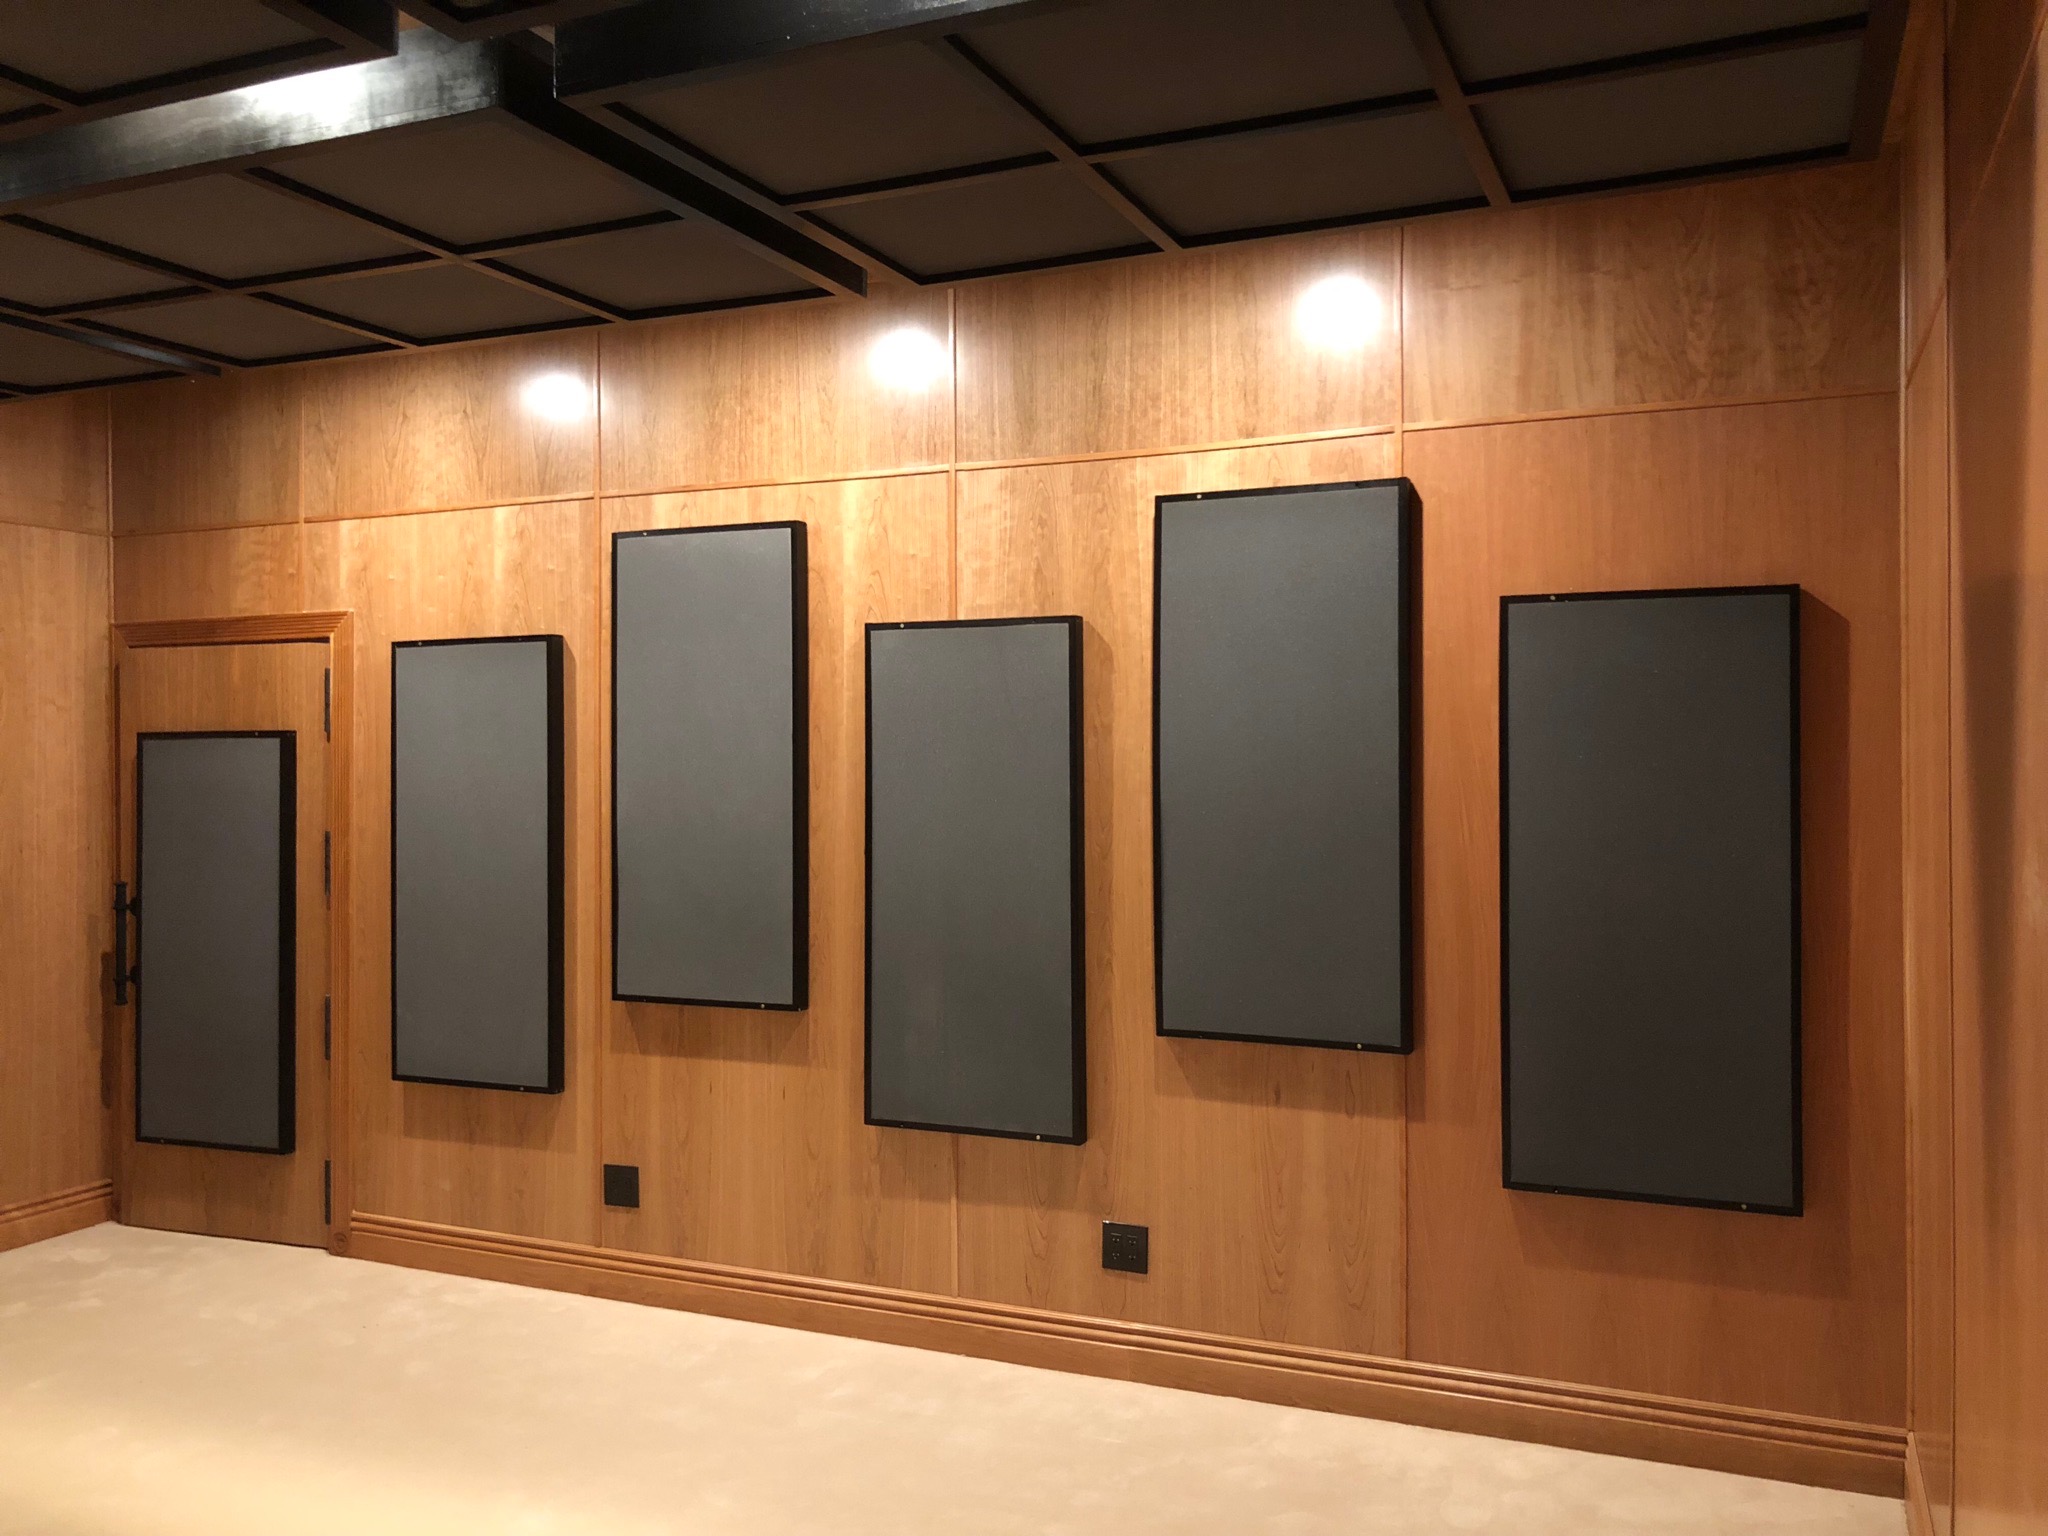
Acoustic foams are typically hanged in strategic locations such as behind your monitor speakers and also directly opposite them. This prevents the bounding of sound off the walls. Depending on the frequencies you are trying to trap, you may also need to hang them at the corners of your room.
There are several ways to hang your acoustic foam. However, if you live in a rental, you’re likely looking for non-permanent solutions that are easily removable. Knowing the exact spot to hang your foam can sometimes be a guessing game. You keep trying until you find a position that perfectly balances your sound. This makes hanging the foams in a non-permanent way is even more important.
In this section, we’ll be looking at the common options and which ones work best for walls you want to preserve.
Wall nails:
This is a pretty permanent way to hang your acoustic foam. Although having nails on walls is never a pretty sight, it may be acceptable to use them on concrete walls. The obvious challenge is that if you ever need to remove the nails, they will likely cause damage to the walls and foam. As you can guess, they’re not the best option available.
Pushpin
Pushpins can work well if you have wooden walls. Because of their small size, they only poke small holes in the walls. A pack of push pins is usually more than enough to hang all the acoustic foam you need for a small room.
Although the holes caused by push pins are very small, they’re still holes and may affect the aesthetics of your room. Also, if you have a nitpicky landlord, they could easily use that as an excuse to avoid paying you a refund on your deposit for damages
Spray adhesives and glue
Since both spray and glue work the same way, we’ve grouped them together. To use adhesives, you’ll need to apply the spray on both the flat side of the acoustic foam and the wall. After spraying both surfaces, you can place the foam directly on the wall and leave the adhesive to dry. Although using spray will not directly damage your wall, it can ruin the aesthetics if you need to remove the foam. Because the adhesives required to hold the foam to the wall are quite strong, they can form residues or even cause a tear in the foam when you take them out.
One way this challenge of adhesives is to use cardboards or mountboards. You can glue the acoustic foams to a large cardboard and then hang that cardboard to the wall using double-sided tapes. This makes it easier to move the acoustic foam around if the need arises.
Command Strips

Command strips are perhaps the easiest and least damaging way to install acoustic foams on your walls. These strips contain adhesives on both sides and can hold up to 16 pounds of weight, so your lightweight acoustic foam is definitely within range.
Before using command strips, you first have to clean the wall surface with rubbing alcohol. This is because the strips work best with clean, smooth surfaces. Once that is done, separate the strips together and click two strips together.
If you’re using multiple acoustic foams, you can start by putting the foams together in your desired shape and pressing one side of the strips into the foams. If you’re hanging foams on vertical walls, you can use two strips. The ceiling, however, will require four strips. Once you’ve created the shape you want, you can move the foam to the wall and press it firmly against the surface of the wall for 30 seconds. That’s typically all you need to do to hang your acoustic foams using command strips.
You should, however, keep in mind that command strips do not work well with wallpapers, so you shouldn’t use the strips with walls that have them.
Conclusion
Landlords aside, there are several legitimate reasons not to want your walls damaged when treating your room. Preserving the aesthetics alone is a good enough reason. Based on the options listed above, there are two methods that can save your wall - using command strips or using adhesives alongside a cardboard. Make sure you choose a method that fits your kind of wall and is within your budget.
References
https://squirreltrenchaudio.com/2016/12/13/use-of-acoustic-foam-can-lead-to-death/
https://www.command.com/3M/en_US/command/how-to-use/picture-hanging-strips/